Saturday, May 30, 2009

Become a Command Line Commando

The command-line interface (CLI) is a tool for interacting with the operating system or software by typing commands to perform specific tasks.

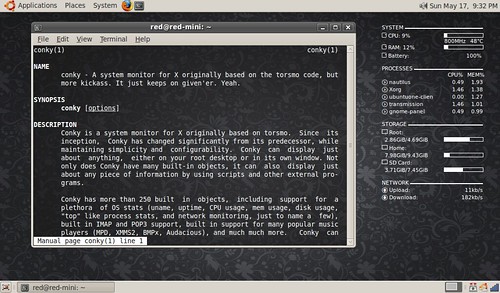
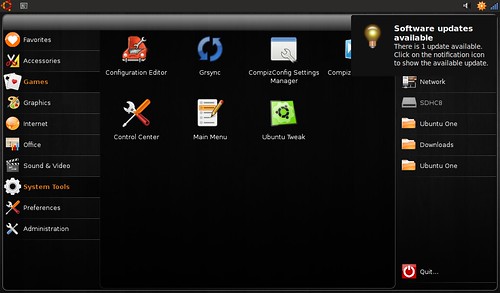
In Ubuntu the default command line interface is the gnome-terminal. You can find it under Application>Accessories>Terminal.

For some tasks, especially things like system configuration, it makes sense to use the terminal. This guide will show you how to use the command line to keep your system up and running, how a fix common errors and edit some things.

- The majority of these commands require you to be the superuser. To execute these commands as the superuser you will use sudo at the beginning of each command.

apt-get is the command-line APT package handling utility. It works with core libraries to handle the installation and removal of software in Ubuntu. The following are the most common APT for managing your software and system.

Install a package
sudo apt-get install [name of package]

Remove a package
sudo apt-get remove [name of package]

Remove a package and its configuration files
sudo apt-get purge [name of package]
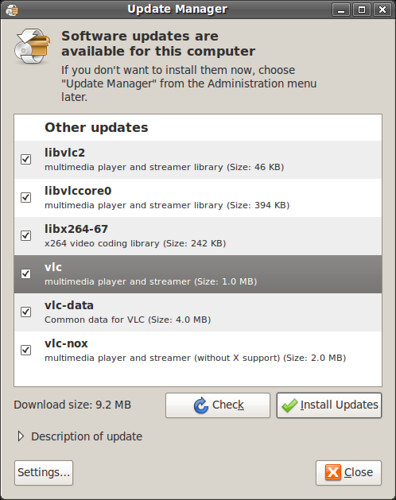
Update your system
sudo apt-get update

Install updates
sudo apt-get upgrade

Does the same as clean but it only removes package files that can no longer be downloaded, and are largely useless (my preferred method)
sudo apt-get autoclean

Used to remove packages that were automatically installed to satisfy dependencies and that are no more needed (another favorite)
sudo apt-get autoremove

Frees up space by clearing out the local repository of retrieved package files
sudo apt-get clean

If you want to learn more apt-get commands read user manual
man apt-get


dpkg is the software at the base of the Debian package management system. It is used to install, remove, and provide information about .deb packages. These are some of the most common dpkg commands for fixing problems with .deb packages and broken systems.

When something goes wrong with an upgrade, use this command and all unpacked but unconfigured packages we be configured.
sudo dpkg --configure -a

To fix a specific .deb package
sudo dpkg-reconfigure [name of package]

To fix your xorg.conf file, for resolution or graphical problems.
- In most cases, selecting the default options will fix the majority of your issues on the Dell Mini 9.
sudo dpkg-reconfigure xserver-xorg

If you want to learn more dpkg commands, read the user manual.
man dpkg


Some other helpful terminal commands:

To terminate the process currently running in the terminal by sending it a SIGINT command.
Ctrl+C [press the Ctrl and C keys simultaneously]

Edit you source list.
sudo gedit /etc/apt/sources.list

Edit your file system table (fstab).
sudo gedit /etc/fstab

Edit your xorg.conf.
sudo gedit /etc/X11/xorg.conf

Add kernel modules to load at boot time
sudo gedit /etc/modules

List all drives.
sudo fdisk -l

Mount a drive.
sudo mount [/path/to/drive]
- to learn more on how to mount drives, read the mount user manual
man mount

To unmount a drive.
sudo umount [/path/to/drive]- to learn more on how to mount drives, read the mount user manual
man umount

Configure, control, and query TCP/IP network interface parameters.
ifconfig
- to learn more commands for using ifconfig, read the usual manual.
man ifconifg

Configure, control and display the parameters of wireless network interfaces.
iwconfig
- to learn more commands for using iwconfig, read the usual manual.
man iwconifg

If you have a favorite command, feel free to leave them in the comments, I'll add the best ones to the guide.

Have a question or problem that this article doesn't cover?
Ask our Ubuntu Mini 9 Google Group for help.

Sunday, May 24, 2009

Have Firefox Use Ubuntu's Notification System

old_notification_system
- Firefox's notifications are not very elegant. They do not use the operating systems native notification system and stick out like a sore thumb.
- This guide will configure Firefox to use Ubuntu's notification system.
- The plugin used works for all versions of Ubuntu, not just 9.04 Jaunty Jackalope.

Step 1: Disable The Old Notification System
In Firefox's URL bar type about:config
about_config_warning
- ignore the warning message

about_config_false
- Type browser.download.manager.showAlertOnComplete in the filter bar.
- Set the Value to false

Step 2: Download The FirefoxNotify Plugin
add_ons_plugin
- You must check the"Let me install this experimental add-on" box to download the add-on.

Step 3: Restart Firefox
new_notification
- Now Firefox will use Ubuntu's notification system.

Have a question or problem that this article doesn't cover?
Ask our Ubuntu Mini 9 Google Group for help.

Saturday, May 23, 2009

Dark Human GTK Theme

My custom GTK theme is nothing fancy. Dark Human is a combination of the included Dust and Human themes with the colors tweaked to compliment the dark gray.

Download My Dark Human Theme

Dark Human with Menu
- the desktop and menus.

Download The Background

Appearance Preferences
- To install the theme go to System>Preferences>Appearance.
- Click install and select the Dark Human.tar.gz.

home_folder
- Nautilus (still clinging to the orange)

Firefox_screenshot
- The smaller scroll bars and my custom Firefox menu help maximize screen space. You can use this guide to shrink/tweak your Firefox.

my_desktop
- Same setup with Ubuntu Netbook Remix running. It's pretty.

Have a question or problem that this article doesn't cover?
Ask our Ubuntu Mini 9 Google Group for help.

Sunday, May 17, 2009

Monitor Your Mini with Conky

Conky is a system monitor software for the X Window System. It can monitor almost all system variables including CPU, memory, swap, disk space, temperature, upload, download, system messages, email and much more. It is extremely configurable, but the setup can be difficult if you don't know the language.

To learn how to edit Conky, read the Conky Variable page or Conky man pages.

To install Conky
in a terminal type:
sudo apt-get install conky

To read the Conky man pages
In a terminal type:
man conky
* you have to install conky before you can read the man pages

Screenshot
- the Conky man page side-by-side with my setup

My Conky Setup
conky_mini

Includes:
- Custom icons for each section.

- Details for CPU usage, frequency & temperature, memory usage and battery percentage remaining.

- Lists the 5 most intensive processes with CPU and memory usage.

- Hard drive and SD card details.

- Network monitor with upload and download speeds.

- It also intelligently monitors my storage and network settings. It loads SD card details only when a card is present. The network monitor can distinguish between wireless and wired connections and show the appropriate details.


This is just a simple setup. Conky can be customized to be as detailed as you want it to be. This article shows some of my favorite setups.

To run Conky use Alt+F2 to bring up a run box and type Conky
Screenshot-Run Application

To edit your conky
in a terminal type:
gedit .conkyrc

You .conkyrc file is a hidden file inside your /home folder.

If you want to use my conky file or just want some icons to work with, first download these Conky fonts and use this guide to install them.

Download my .conkyrc file

- Conky does not work well with Ubuntu Netbook Remix
- You will have to edit the mount point for your SD card under STORAGE to get it to work properly.
- If you have a swap partition and want to monitor it, add this after RAM:
${voffset 4}${font StyleBats:size=9}j${font} SWAP: $swapperc% ${alignr}${swapbar 8,80}
- If you figure out how to get HD temperature monitoring working, please leave the details in the comments below.

Have a question or problem that this article doesn't cover?
Ask our Ubuntu Mini 9 Google Group for help.

Saturday, May 16, 2009

Dell Mini 9/Vostro A90 BIOS Flashing Utility

Upgrading or downgrading your BIOS has always been a pain for Dell Mini users. I've purposely have not written a guide for flashing your BIOS because it wasn't very easy and if you did it wrong, you could make your Mini unusable. The FlashBIOS utility makes flashing an easy and safe process.

Mini 9 Flashing Utility
Download the Dell I910 Mini/Vostro A90 USB Key Drive flashBIOS Utility

Some Tips for Getting everything Setup Properly
- You need a machine running a Windows operating system (Wine doesn't work) to create the USB drive flashBIOS Utility.
- USB flash drives larger than 4Gb are not supported.
- Remember, all data on the destination drive will be erased, so back up your drive if needed.
making the flash utility
- To properly flash your BIOS you must make sure to have your Mini/Vostro running on AC power. Ensure the computer is plugged in and not running on it's battery throughout the entire process.
- Make sure that USB Legacy Support is ENABLED in your BIOS, to allow booting from USB flash drive. You can find it under the Advanced tab in your BIOS menu. To access your BIOS press the "2" key when you see the Dell logo when first turning on your Mini/Vostro.
- Plug in the USB flash drive, boot your machine and follow the on screen guides to easily flash your BIOS.

You can read about the various BIOS fixes on Dell's website here
BIOS A05 fixes:
1."Press F12 key" highlight but not into boot menu while the POST
progress arrives to about 90%.
2."rpcnetp.exe" is running when set Computrace as Disabled on Setup.
3.If set USB Storage as 1st boot device, system with usb device (not
bootable) can't boot to HDD.

Have a question or problem that this article doesn't cover?
Ask our Ubuntu Mini 9 Google Group for help.

Friday, May 15, 2009

Remove The Pop-Up Update Manager

Pop-ups, pop-unders and any window that opens without being given permission is never a good idea. Remember the early days of the internet? This kind of annoying window behavior is unacceptable.

Pop-up_ads


Update Notifier No Roll OverPrior to Ubuntu 9.04, an icon would appear in the notification area, indicating that new system updates were able to be installed. Only after clicking the notification icon would the update manager window appear.


In Ubuntu 9.04 the update-manager behavior was changed. It no longer uses the the notification area to let users know that updates are available. Now Ubuntu auto launches the the update manager window to let user know that software updates are available.

Update Manager Window

What is the point of having a notification area if you aren't going to use it? Even though the update window does not steal focus or stop workflow, it still launches without permission. I find this behavior annoying and contrary to creating a good user interface. Update notifications belong in the notification area. This is one of the new changes in Jaunty that I can't agree with. The good thing is, like everything else in Ubuntu, if you don't like it you can change it.

To stop the update manager window from auto launching and enabling the notification icon in a terminal type:
gconftool -s --type bool /apps/update-notifier/auto_launch false

Update Notifier Setup Properly
- Now when system updates are available the icon appears and Jaunty's beautiful notification system tell you how many updates are available. I think this is a much better way of handling a very important system function. It integrates into the operating system better and gives me back control of my system.

Have a question or problem that this article doesn't cover?
Ask our Ubuntu Mini 9 Google Group for help.