A Little Background On The X-Server:
The X.Org Server (officially the X.Org Foundation Open Source Public Implementation of X11) is the X server in the official reference implementation of the X Window System.
The X Window System (commonly X or X11) is a computer software system and network protocol that provides a graphical user interface (GUI) for networked computers. It implements the X display protocol and provides windowing on raster graphics (bitmap) computer displays and manages keyboard and pointing device control functions. In its standard distribution, it is a complete, albeit simple, display and human interface solution, but also delivers a standard toolkit and protocol stack for building graphical user interfaces on most Unix-like operating systems and OpenVMS, and has been ported to many other contemporary general purpose operating systems. Most modern GUIs developed for Linux and other UNIX-like systems, such as GNOME, KDE, and Xfce, use the X Window System as a foundation.
from Wikipedia
How to Fix Your xorg.conf File:
In a terminal type:
sudo dpkg-reconfigure xserver-xorg
This will allow you to reconfigure your xorg settings, fixing any resolution or graphic problems. In most cases, selecting the default options will fix the majority of your issues.
How To Access the Failsafe Terminal:
If you can't boot into a graphical user interface, you can always access the failsafe terminal from your GDM (Gnome Display Manager) screen.
Start your computer and wait until you get to the GDM (pictured below).
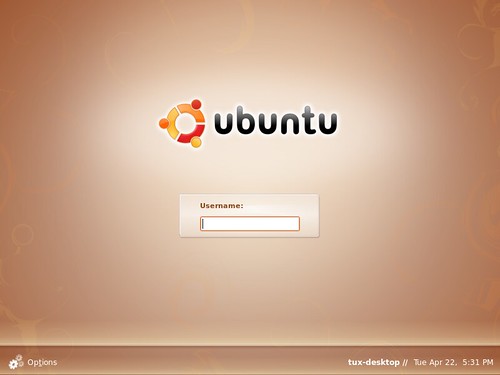
1. Click the Options menu and select the "Select Session..." option
2. Choose the Failsafe Terminal option
3. Log in with your username and password
4. Run the command as you would in the regular terminal:
sudo dpkg-reconfigure xserver-xorg
5. For most users, select the default settings
6. Reboot your machine and everything should be in working order